This project is very possible for any one with basic sewing skills (if you don't have basic sewing skills, why don't you sign up for lessons!) and it only takes a few hours. If you've never attempted a blanket, this is a great place to start.
Supplies:
- 1 1/2 yards of light weight cotton material
- 1 1/2 yards of coordinating "minky dot" material
- Color coordinating thread
- Large quilter's safety pins
- Fabric marking pen or pencil
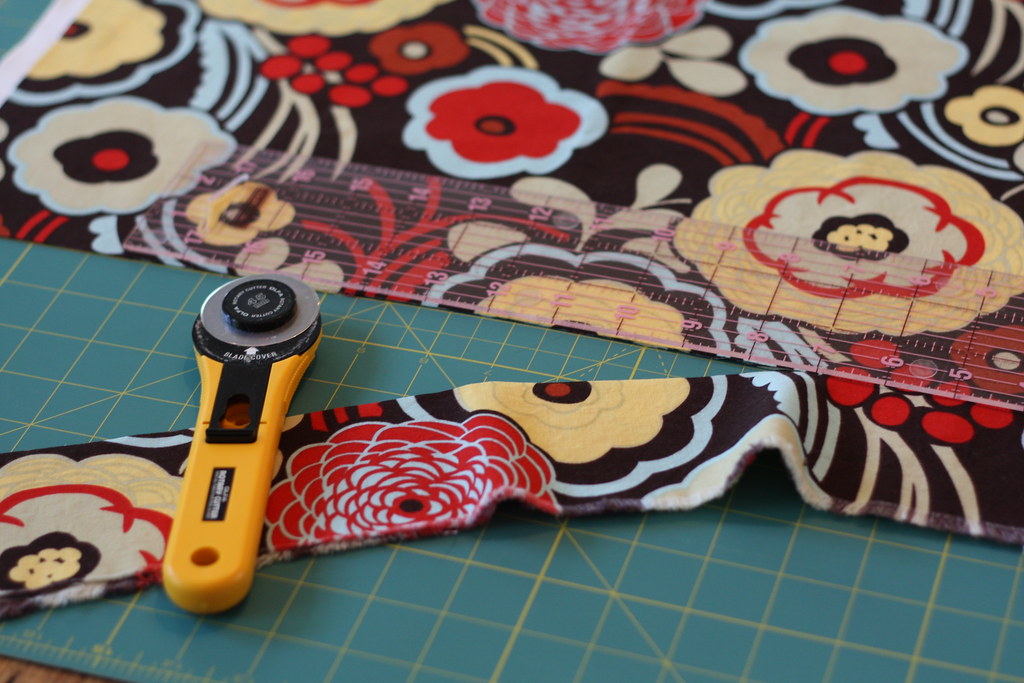
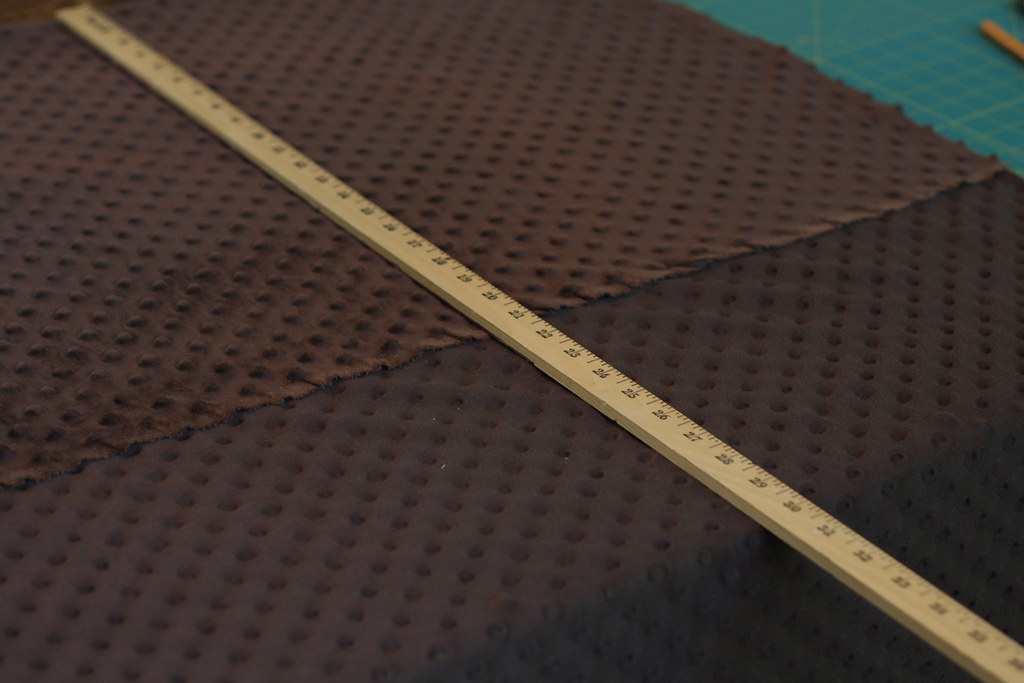
Okay, first things first...let's make some cuts! Your cotton fabric should be 44-45 inches wide, from selvage to selvage. Cut the length to 45 inches, so you will have a piece of fabric about 45 x 45 inches.
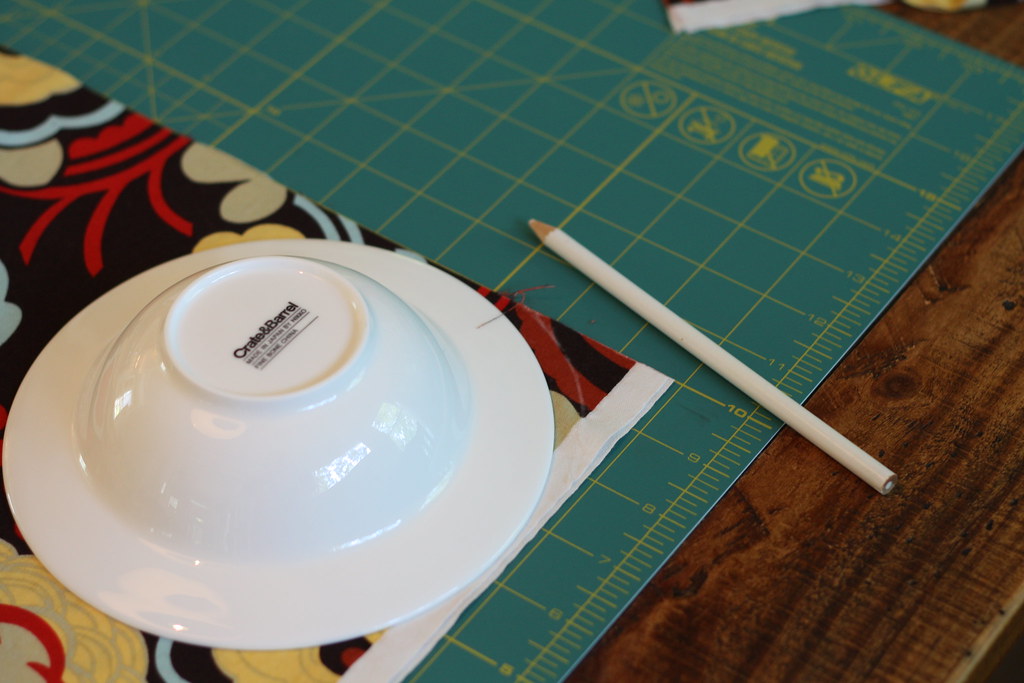
Once you've cut out your square, you can round the corners by tracing the edge of a plate with a fabric marking pen. Just line the edge of the plate up with the straight edges of the fabric to make a nice round edge.
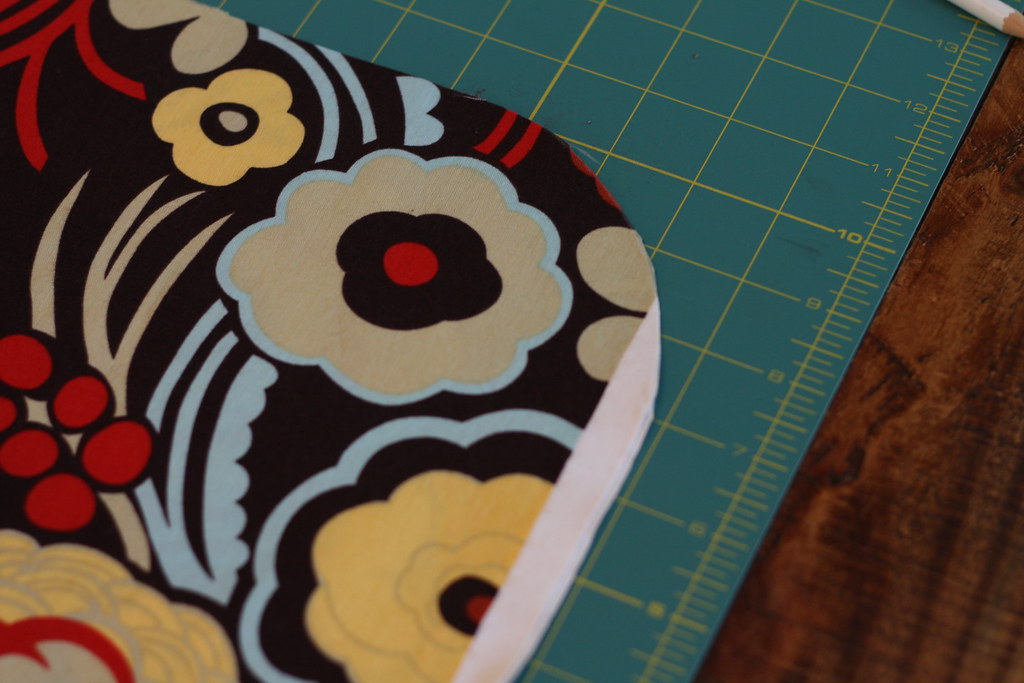
Wha-lah! Repeat for all corners. (If your fabric is folded in half, you'll only have to do this twice.)
Cut the same size square from your minky dot material. It may be wider than the cotton material, so you might have to cut the length and the width...I did. Just make sure that you cut a square that is 45 x 45 inches.
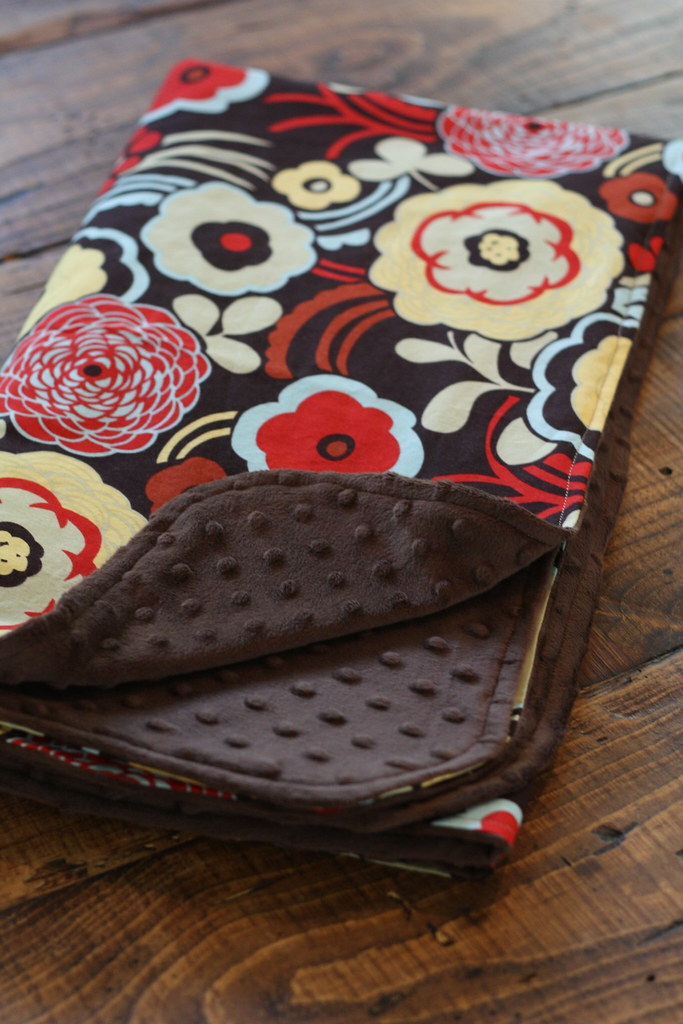
Minky dot is so soft. It feels like puppy dog ears. If Cruella Deville had known about this stuff, she wouldn't have needed 101 puppies.
Using the same technique as before, round the corners of your square.
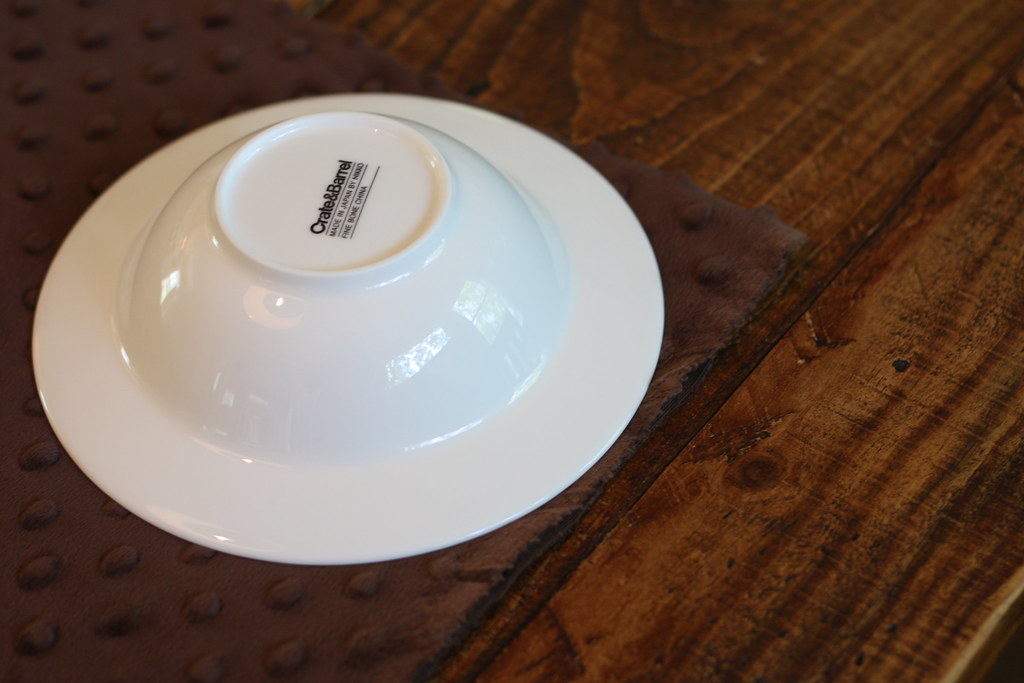
Crate and Barrel, anyone?
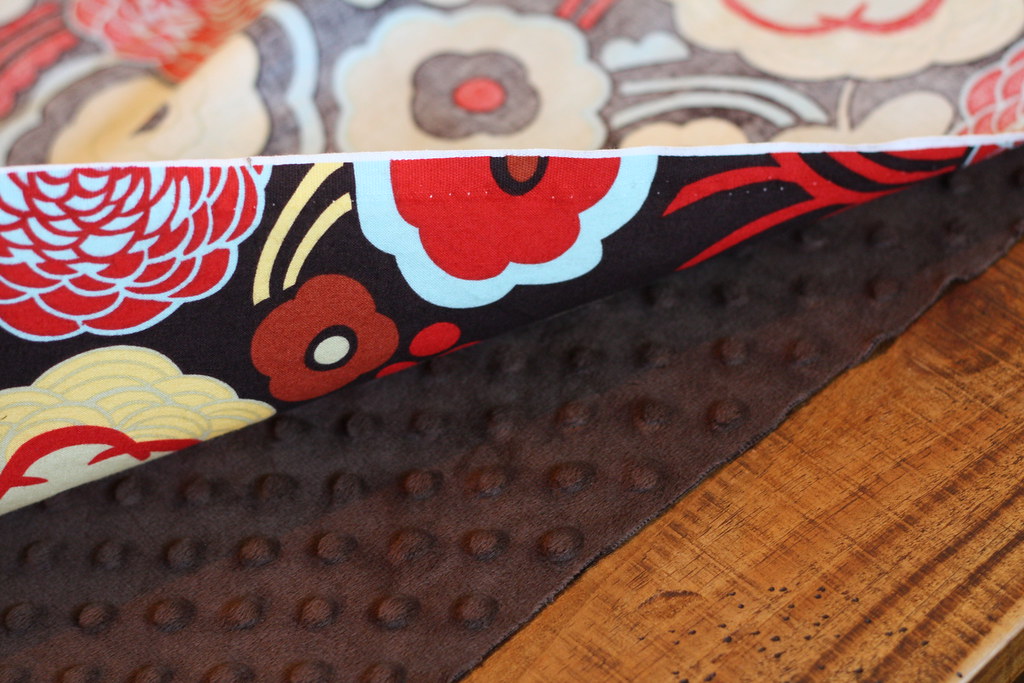
Now that you have two 45 x 45 inch squares of fabric, lay them out, right sides together (meaning the good sides of the fabric should be facing each other) and line up all of the edges.
I ended up laying mine out on the floor because it's so big. You can see that all of my edges don't line up perfectly...that's ok. I trimmed them up when I got it all pinned.
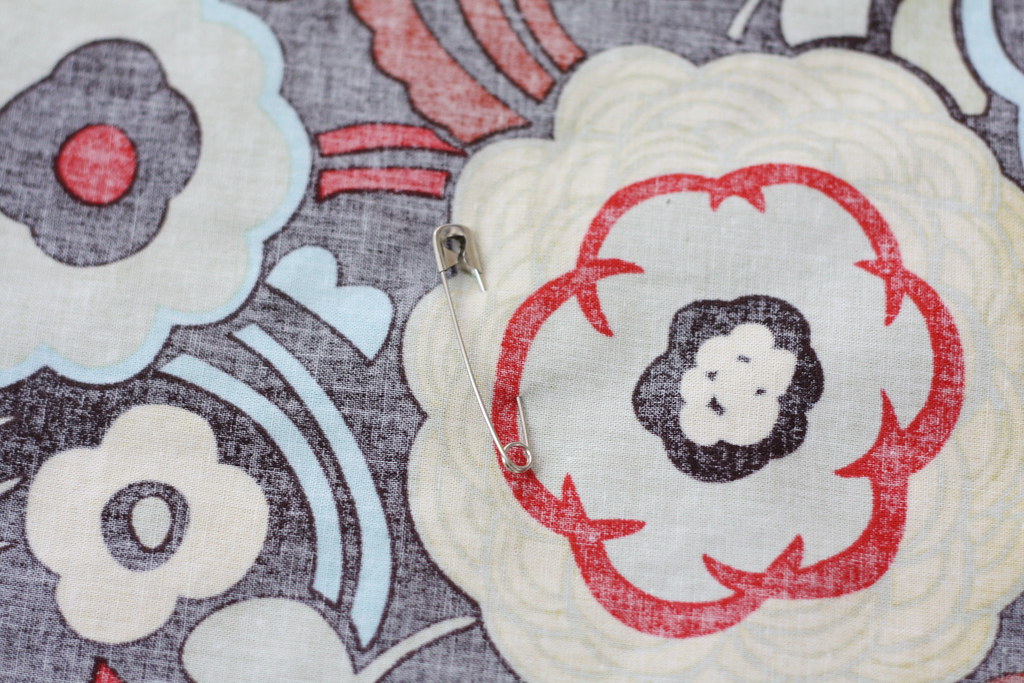
Use your large safety pins to secure the two layers together. I like to place these about every 8-10 inches in the middle area of the material. This just keeps the fabric secured together and prevents shifting while you're sewing.
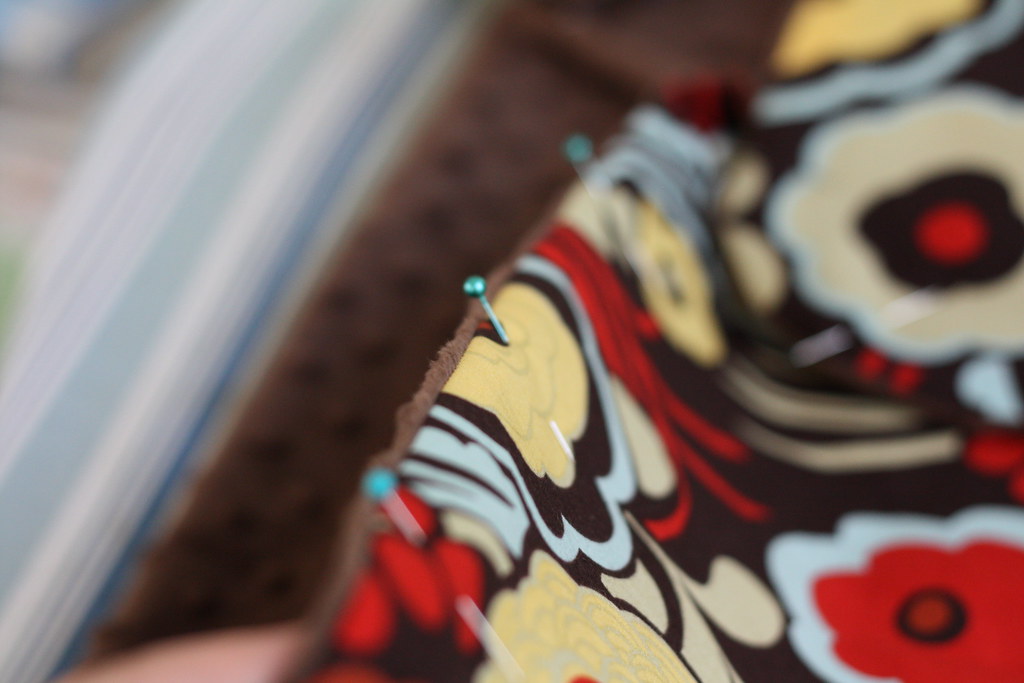
Then, place straight pins around the edge of the blanket about every 6 inches. Leave the head of the pins hanging off the edge for easy removal while you sew.
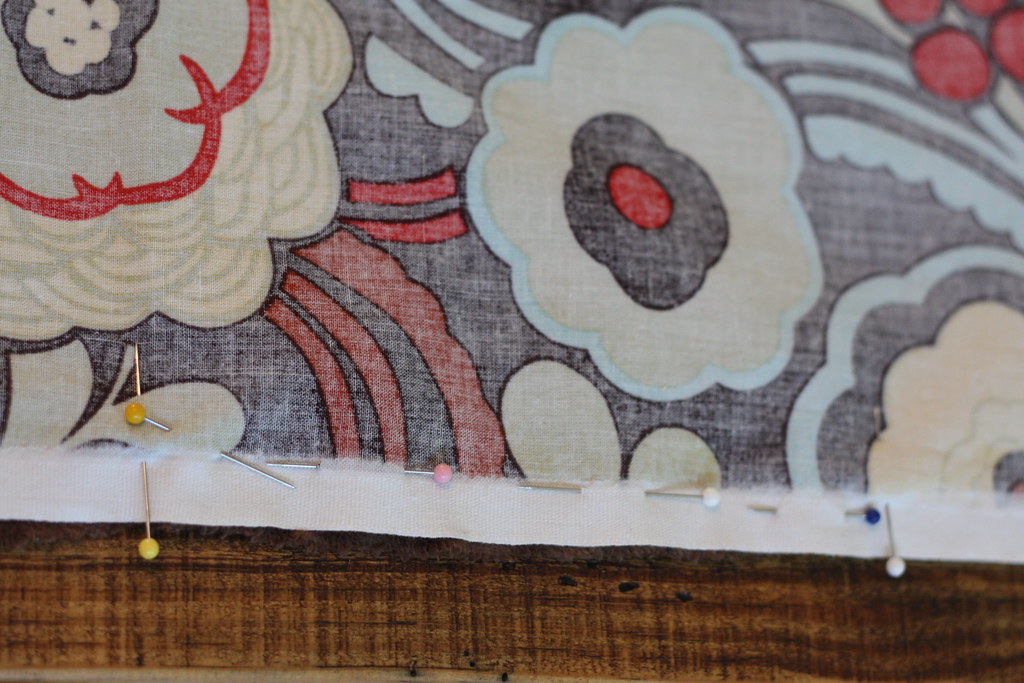
You'll want to leave a hole open about 10 inches wide for turning the blanket right-side-out. I mark where I want my hole to be by placing a few pins parallel with the edge of the fabric (all of your other pins with be perpendicular to the edge). When I run into the parallel pins it reminds me not to sew there...I won't tell you how many times I've sewed something up, only to have to rip the stitches out to turn it. It's embarrassing. This is my trick for remembering. I need a lot of help.
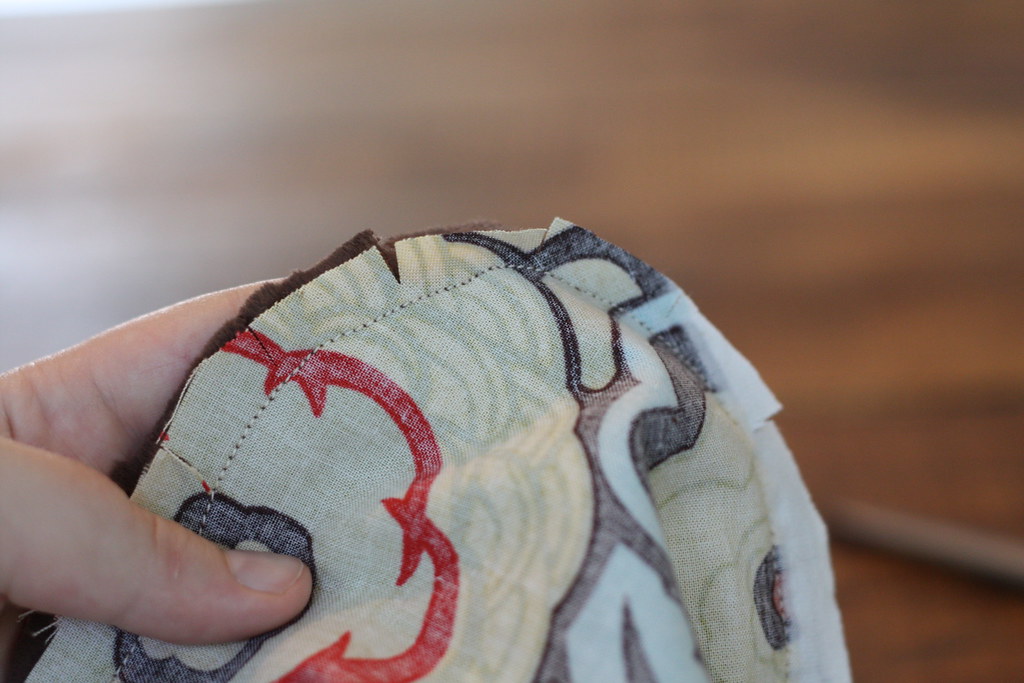
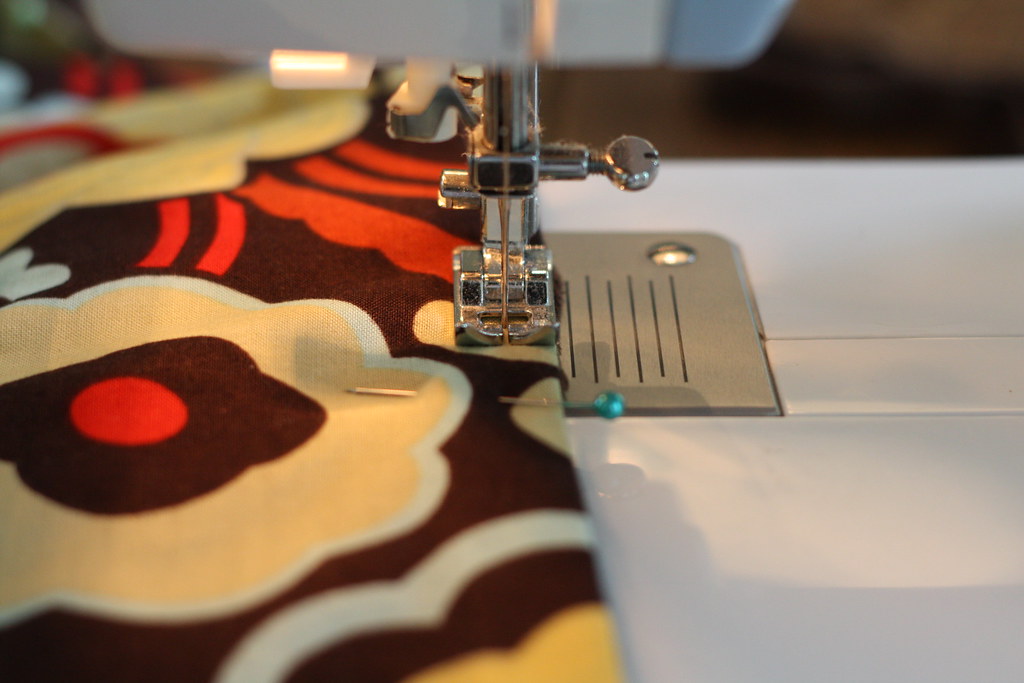
Using a 1/2 inch seam allowance, sew around the edge of the blanket. Once you've sewn all the way around, snip the fabric around the curved corners so that it will lay flat when it's turned. Be careful not the snip the stitches.
Nothing can make you cuss like accidentally snipping stitches. I'm just warning you.
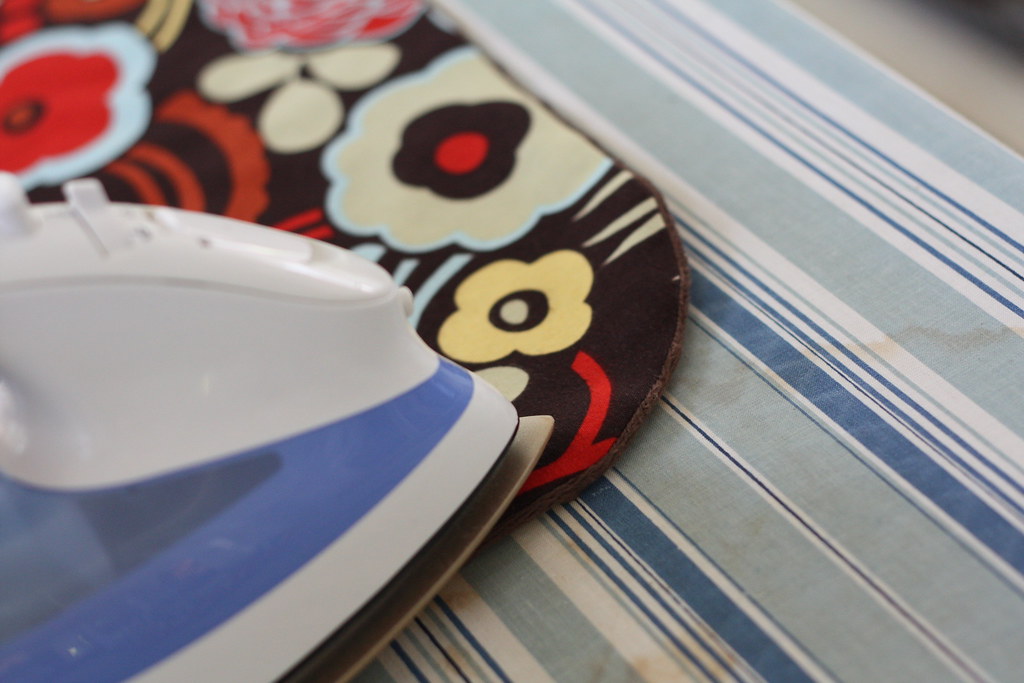
Now remove all of the safety pins and turn your blanket right-side-out! I like to go around the edge and iron all the seams out so that they're nice and neat.
Next turn under the edges of the hole you left and pin it.

Also pin around the entire perimeter of the blanket...pinning about every 8-10 inches. You might want to put in a few of safety pins in the center, as well.
Using a 1/2 inch seam allowance, top stitch around the entire blanket, taking great care to make sure the hole gets securely stitched.
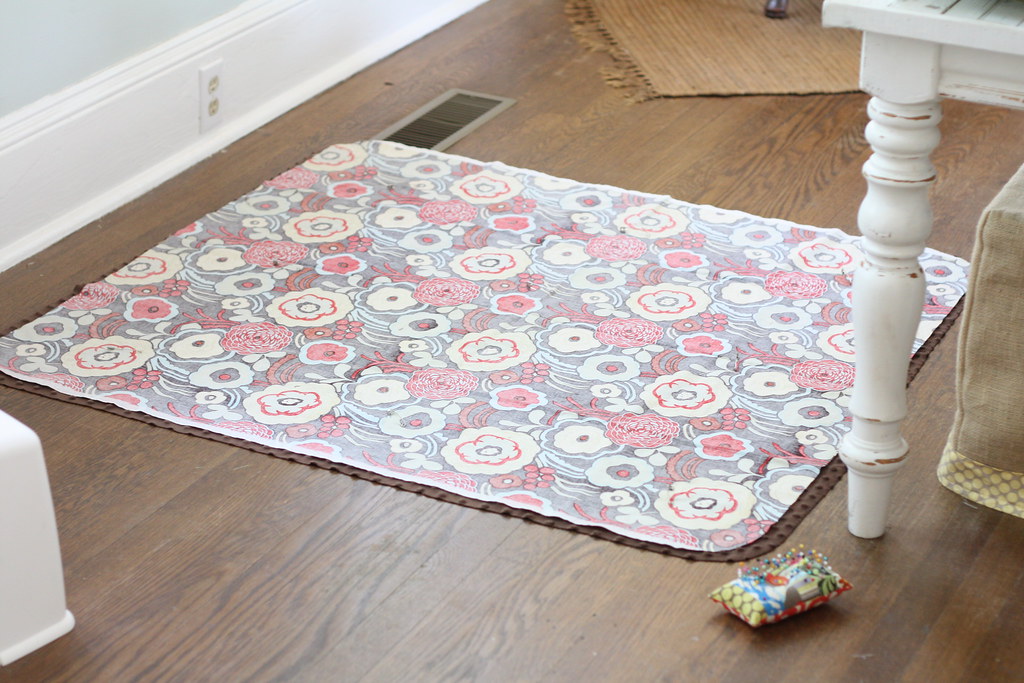
And that's it! You're all done! Give it to someone you love.
I used my extra fabric to make a little matching pillow. Holla.
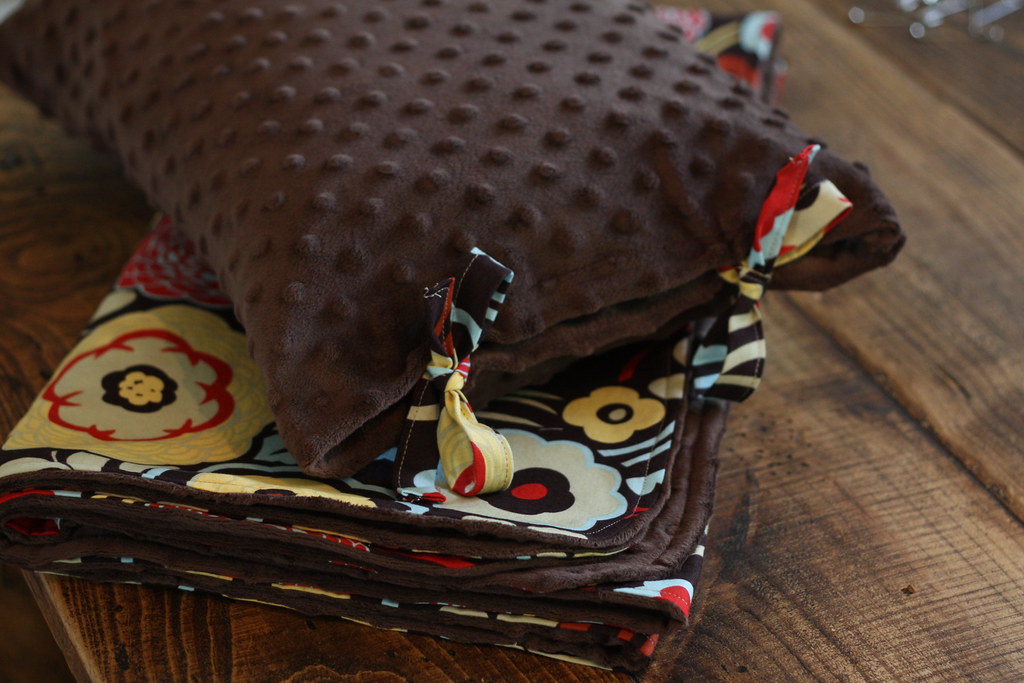
When you finish, resist the urge to snuggle up and take a nap with your new blankie. Trust me, it's very tempting.
Want to make cute projects like this? Sign up for sewing classes with me!
mel
***UPDATE! In response to the your questions and comments, I did not use any type of interfaceing or batting in this blanket. The white that you see is just the selvage edge of the fabric. I recommend always washing your fabrics before starting a project. Both fabrics are from Joann's. Minky is a little tricky to work with- it takes some patience. I do not use a walking foot or spray adhesive, I just take my time and use LOTS of pins, both straight pins and quilting pins. (which I think is the key to success) Good luck!***
Sharing with friends at:
Remodelaholic
Skip to my Lou
Tip Junkie