


I have a craft table. We got it at Ikea several years ago. I needed a place to sew besides the dining table.

It is a plain Jane unfinished pine dining table. It is solid pine and very sturdy. It's perfect for sewing and cutting out patterns and crafting. It's the Ikea INGO and I think it cost about 60 dollars when we bought it. Not bad.
Up until now, the table has been simply utilitarian. The unfinished wood looked very....unfinished. We also had some unfinished pine shelving units that we used in an apartment when we first moved to Macon. Both of these things now live in our third bedroom, which I use as a studio.
We've started working on the Studio Room lately....making it a little more home-y. I'm spending more time in there and I want it to be a pleasant place to work.
After thinking and thinking about what to do with the table and the shelves to make them look a) more exciting and b) more cohesive, I decided to paint the table and shelves white, but stain the table top. This picture is my inspiration. Doesn't it look nice?

Well, here's what we did. First, we hauled all of the furniture from upstairs out onto the porch to paint. Then we went to Sonic to get a snack, because that first step really took a lot out of us.
Then, I started painting the shelves white by myself, but I made lots of sad faces and sighed really loudly until David came to help me.
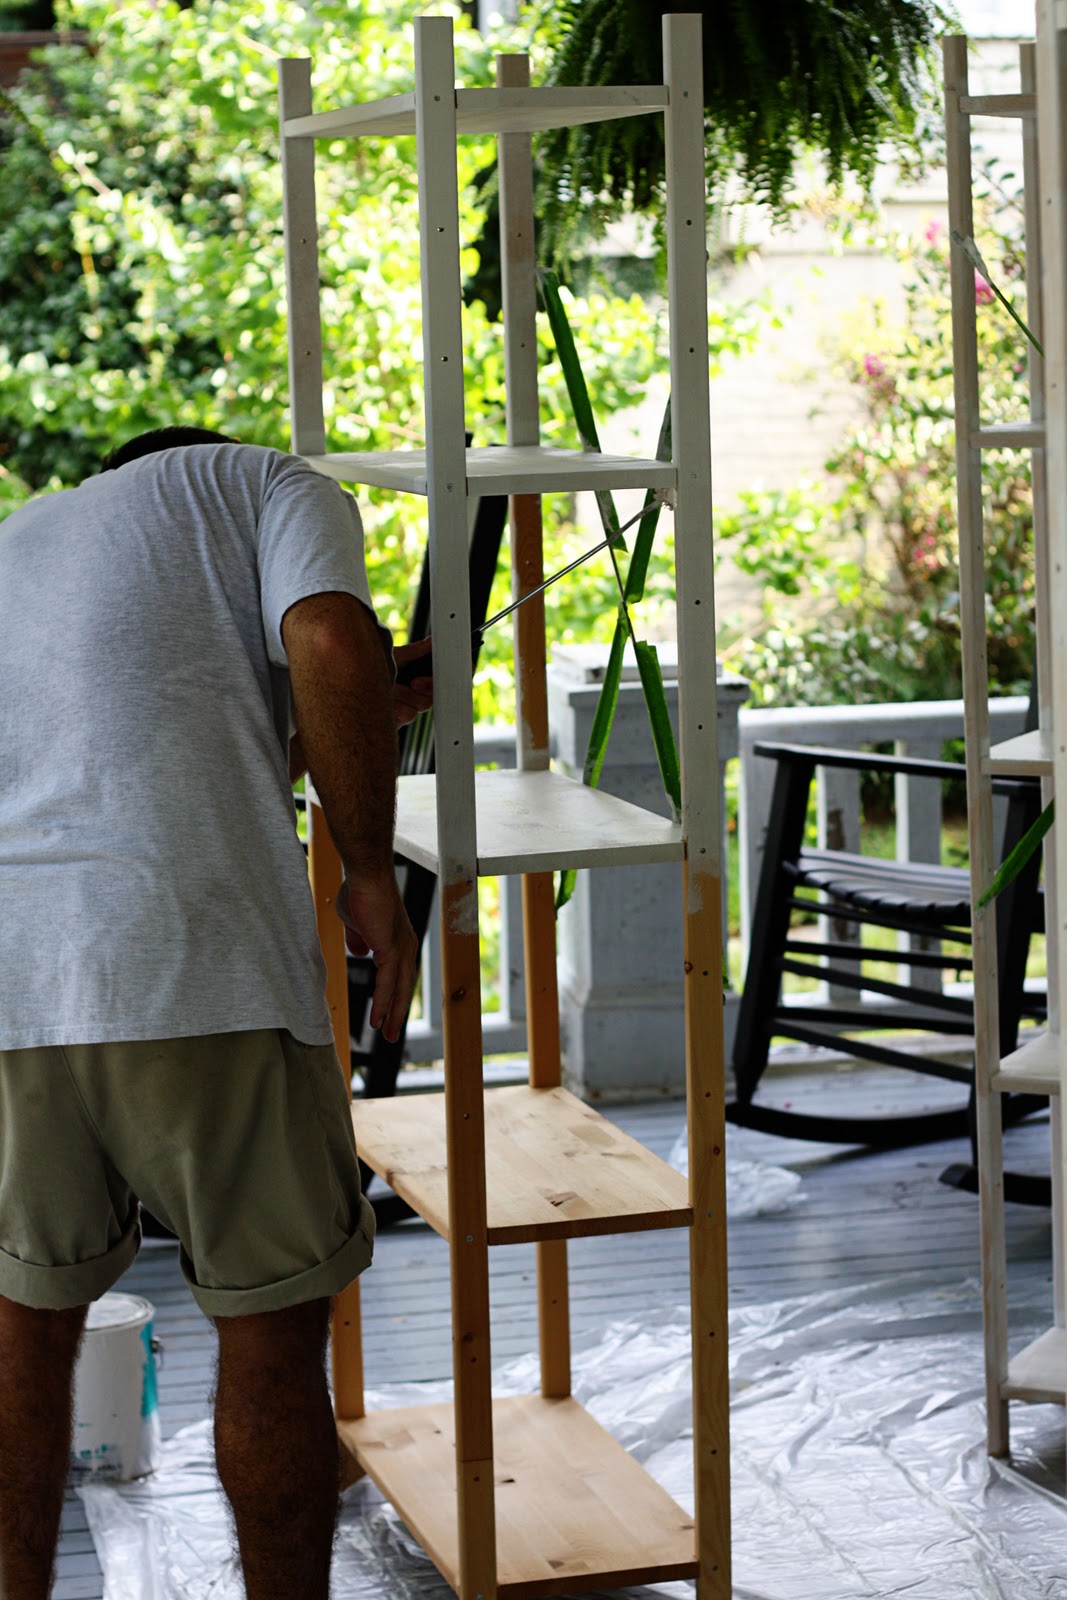
I wish I could tell you why David's shorts are rolled up, but I have no idea. We'll have to ask him about that later.
We used 1 coat of Kilz latex primer and 2 coats of white latex paint on the shelves and the table legs.

(Sorry for the blurry picture, but you get the idea.)
When I started on the table, I taped off the top, because I was going to stain it later. I painted the legs and bottom box brace section white.

After I let the legs dry, I removed the tape. David sanded the top of the table for me because it had some paint spills and scratches on it. We cleaned it off and then I applied two coats of water based stain with a foam brush and then wiped the excess off with a clean cloth. I didn't use tape for this step because I have a pretty steady painting hand, but you could tape over the painted area if you were worried about mistakes.
When the stain dried on the top, I applied a coat of polyurethane to make the finish durable. Wanna see it now?

Ooo La La! Isn't beautiful. The two tones give the table a little more interest than if we had painted the whole thing white. Since it's such a simple piece of furniture, it really needed a boost!

Here, you can see the finish on the top of the table. Any piece of furniture that is solid wood can be stained like this. Many of Ikea's pieces are made of solid wood and can be finished any way you choose. When I can get such inexpensive furniture I don't mind doing a little extra work.
I love the new table. The white shelves look great, too. I have big plans for them in the future.
I may add some casters to the bottom of my craft table so that I can move it out of the way when we have guests stay in that room. I love furniture on wheels!


LOVE IT!!!
ReplyDeleteMelissa! Your table looks A-mazing. Seriously it looks so good. Can't wait to see your bookshelf too.
ReplyDeleteyes beautiful is right! Love the darker top - who would know it was ikea!
ReplyDeleteWOW!! so simple and so beautiful! Great work!
ReplyDeleteThat really was a transformation! It is amazing how pretty it is now. Saw this on Miss Mustard Seed's link party.
ReplyDeleteThis turned out great! I'm just finishing up a dresser the same way.
ReplyDeleteI like the dark stained top, paired with the white legs. Good choice!
ReplyDeleteVery nice new look for your table. Well done. Hope you'll stop by and see our upholstery effects. Jane F.
ReplyDeleteFound your piece on MMS and it looks great-you'd never know it came from Ikea!
ReplyDeleteTell David that Granddad always rolled up his shorts and pants and that is not a good direction to be headed.......just sayin'
ReplyDeleteYour table turned out beautiful!
ReplyDeleteIt looks great. That is the effect I am going for on my vanity- turned- desk. I also want to do it to the dining room table at some point but that will wait a while I think.
ReplyDeletetammy
The wood looks great - I can't believe it turned out so well. This has given me a bit of courage to maybe try this on one of my own pieces...watch this space!
ReplyDeletetina
So happy to see you at A Crafty Soiree! That is a fabulous after! I have a plain jane table from Ikea to craft on too. It could use a makeover too. Now that I know how great it could look, I'm inspired. Thanks for sharing and looking forward to seeing you next time too:)
ReplyDeleteThis is fantastic!
ReplyDeleteQuestion...is that a basic singer....i would like to buy a sewing machine but it will be for basic sewing nothing fancy and i don't want to get more then i need or spend a huge fortune. thxs
ReplyDeleteHi:
ReplyDeletelove your table, great idea, thanks
katecreativesalvage
This looks great! I wish so badly I could have a "craft space"...my kitchen table starts to get crowded! Thanks for following me! That cookie dough is too sticky to roll out, but I have a great recipe for roll out cookies that I would be more than happy to email you!
ReplyDeleteLove it! Thanks so much for sharing the link. What a great project. We're loving how it all turned out.
ReplyDeletexo,
s (& j)
Just stumbled on this, I really like the dark stained top with the white base. Those bare, unfinished solid pine wood furniture pieces at Ikea are awesome for unleashing your creativity.
ReplyDeleteHi Melissa, I found your awesome post while looking on how to stain my ikea desk. I was wondering if you still remember the brand and color of the water based stain you applied and if you would mind sharing it.
ReplyDeleteYou table is beautiful.
Thank you,
Kalindi
I was also wondering about the brand and color of stain that you used? It turned out beautifully.
ReplyDeleteThanks, Alicia
This comment has been removed by a blog administrator.
ReplyDeleteThis comment has been removed by a blog administrator.
ReplyDeleteThis comment has been removed by a blog administrator.
ReplyDeleteThis comment has been removed by a blog administrator.
ReplyDeleteThis comment has been removed by a blog administrator.
ReplyDeleteThis comment has been removed by a blog administrator.
ReplyDeletei'm doing this
ReplyDeleteWhat stain did you use?
ReplyDeleteI think that it was Minwax Early American, but I'm not sure. Thanks for reading!
DeleteI just saw this craft/sewing table make-over. I am SO doing this. I have a similar table that was a hand-me-down from my sister when she moved. It is that pale, yellow pine, and does not match anything! I may do the base and legs in a more distressed, farmhouse finish, but I love the top of yours especially, as well as the inspiration! Thanks.
ReplyDeleteWhat an amazing job you did, it's just beautiful!
ReplyDeleteFormal Dining Room Sets
After searching relevant stuff, I just got your we page and it's really awesome to read out your tutorials about different stuff. I am really happy to read out detailed guide and informative data you shared, it's really awesome. The weighted blanket tutorial, home setting tutorial, christmas tutorial and related really helpful and I would definitely recommend other too to check your blog and read out beautiful guide and cool stuff. Best of Luck Lady, appreciated your practical way to teach your audience. Hope to see more cool stuff soon.
ReplyDelete