photo greener grass logo new_zpsew0enxyv.png  photo stitches copy_zpsp3oydyai.png

 photo about_zpshba0art5.png  photo shop_zps24sfyl5o.png  photo workshops_zpsycwnndbh.png  photo craft parties_zps5jskxbkf.png  photo tutorials_zpscfm8kqak.png  photo contact_zpsfhv565sj.png
Showing posts with label sewing. Show all posts

It's Time for Spring Sewing Classes!

Y'all. I am so excited to tell you about the sewing classes that we have coming up this next month. It has been a loooooooong time since I've been able to teach. Since Ford was born, it's been hard for me to get things together, but thanks to lots of helpful friends and family who are willing to help carry the load sewing classes are back! Yay!

Below are the details for the two beginner classes that are coming up very soon. Keep in mind that class sizes are small- the maximum I'll take is 4 people! Also, due to our new family routines, Sewing 101 is also only going to be offered 2 or 3 times this year. Ford keeps me pretty busy, but I'm trying to squeeze you guys in :) If you don't make it in this time around, we can add you to the waiting list for the next class.


Come learn to do something awesome! You'll be glad you did!

To sign up for either class, you can visit our Eventbrite page, send an email to jess.johnson286 AT gmail.com or send a message to Greener Grass via Facebook.

*********************************************************************************
Sewing 101- A Class for Beginners

This is the perfect class for a beginner. You don't have to have any sewing knowledge whatsoever! We will start at square one and take it slow. Each week we will complete a project that will teach you a new range of sewing skills and I'll show you how those skills can be applied to all of your future projects, too! The beauty of this class is that you get to really focus on your skills and learning your machine over the course of a few weeks. You'll get some really great practice and hands on learning time. This course is especially for people who have doubts about their ability to learn to sew. Give me 6 weeks and you'll become a confident seamstress!

The class will meet Tuesday nights February 11th through March 18th at my house from 7-9 p.m.
The course is 6 weeks and the cost is $175.

Included with the course are instructions and patterns for 5 projects, detailed and personal instruction in a one on one setting, access and use of a sewing machine, and Sewing 101 Manual.

All other supplies (fabric, notions, etc) will be provided by the student.

Supply lists, additional class information, Sewing 101 Manual, contact info for help and guidance will be provided at the time of payment.

What you'll learn in Sewing 101:
  • how to use your sewing machine (and become friends with it!)
  • sewing terminology
  • different types of seams and hems
  • how to follow an instructional pattern
  • basics of fabric buying and cutting
  • how to make ruffles
  • basic hand sewing stitches
  • several decorative techniques
  • how to sew on a button
  • sources for buying beautiful and affordable fabric
  • resources for learning more on your own
  • and more!
Register HERE!

*********************************************************************************
Kickstarter: How to Sew Throw Pillows- A Workshop for Beginners

In this workshop you'll learn some sewing basics while getting to make throw pillows two different ways! This is a great chance to get your feet wet in the world of sewing in highly useful and instantly gratifying way. Kickstarter workshops are not as in depth as Sewing 101, of course, but you'll learn the basics in a condensed course and make something fun while you're at it. This is a great refresher course if you haven't sewn in a while or maybe you think you'd catch on quick to sewing but you just don't know where to start.

This workshop will be held Friday, February 7th 6:30 - 9:00 p.m. and Saturday, February 8th 9:30 a.m. - 12:00 p.m.  
The workshop meets at my house and the cost is $85.

Included with the course are instructions and patterns for making throw pillows two ways, detailed and personal instruction in a one on one setting, access and use of a sewing machine, and Sewing 101 Manual.

All other supplies (fabric, notions, etc) will be provided by the student.

Supply lists, additional class information, Sewing 101 Manual, and my contact info for help and guidance during supply shopping will be provided at the time of payment.

What you'll learn in a Kickstarter Workshop:
  • how to use your sewing machine (and become friends with it!)
  • sewing terminology
  • how to sew a seam and hem
  • how to follow an instructional pattern
  • basics of fabric buying and cutting
  • a basic hand sewing technique
  • an easy decorative technique to make your pillows unique
  • sources for buying beautiful and affordable fabric
  • resources for learning more about sewing
Register HERE

Mark you calendars for these classes coming soon:

"Sewing for Littles" Series - Intermediate
Making a Boys Short-All (Jon Jon)- February 28th and March 1st
Making a Girls Apron Knot Dress- March 14th and 15th

Kickstarter Workshop- Sewing an A-line skirt - Beginner
April 25th and 26th

Simplicity 2147: Sewing a Cool Tunic Using a Commercial Pattern- Intermediate
Date and Time TBD

Basic Sewing Supplies- Everything You Need to Get Started!

Anyone who has ever been in a fabric store knows that there are aisles and aisles of notions, tools, and supplies. It can be a bit overwhelming to navigate through it all to figure out what is necessary and what isn't. At the beginning of my sewing classes, I give each student a list of basic sewing supplies that they'll need. I love love love doing this because it reminds me of elementary school supply lists and going to pick out new crayons and pencils. Who doesn't enjoy picking out new supplies?

Anyway, the things I recommend for class are just a nice basic set of sewing tools that are really everything you NEED (in addition to a sewing machine!) as a beginning "sew-ist,"so I thought I'd share it with you today. Of course, as you learn more and discover what kind of things you like to sew, you can add to your arsenal of supplies accordingly.
::The Basics::

Sewing Supplies Learn to Sew Sewing 101 Basic Sewing

Fabric Scissors or Dressmaker's Shears- Invest in a good pair of fabric scissors and protect them at all costs! Only use them on fabric, because paper will dull the blades so that they won't cut fabric any more. It's a good idea to buy fabric scissors that are a different color than other scissors in your house. David kindly remembers not to use any scissors with blue handles. If you have kids, you'll probably need a good hiding spot.  

Hand Sewing Needles- Some projects require a bit of hand sewing to finish up. These are also useful to have for sewing on buttons and adding special details to your work.

Basic White Thread-It's always good to have. You'll accumulate different colored threads from projects, but white almost always works in a pinch.

Fabric Marker or Pencil- These special markers have ink that disappears with water. I use one all the time for drafting directly on fabric.

Hem Gauge- This is essentially just a small ruler, but it's used to create even hems. It's really convenient for sewing clothes and I use it on almost every project to make sure my edges are nice and straight. I like mine because you can mark your hem width for easy reference. 

Measuring Tape- A must have for making clothes...It also makes you feel very professional when you hang it around your neck.

Seam Ripper- Oh how you will use the seam ripper. It's the eraser for all of your sewing mistakes. I hate to use it, but I'm so glad I have it. 

Ball Head Pins and Pin Cushion- I like long pins, like these, because they're easy to grab quickly as I'm sewing.

Small Scissors- Having another set of small scissors will make your life easier. Keep these beside your sewing machine to clip all of those dang threads! Often you can buy fabric scissors and these small detail scissors as a set


In addition to those tools, the only other essential is a good iron. If you haven't done much sewing before, you may be surprised to learn that there is A LOT of ironing involved! The iron is used to "glue" fabric together before you sew and to finish seams to make a project look crisp and finished, among other things. Don't worry... it's not like ironing laundry. Promise. 

::Not Necessities, But Really Nice to Have::


If you do a good bit of sewing, I highly recommend investing in a rotary cutter, ruler, and self healing mat. I didn't have one for a very long time and then my mom got me one for Christmas a few years ago. I can never go back! These can be a bit expensive, but they regularly go on sale at JoAnn's or it would be a good use of your 50% off coupon. 

The Purl Bee has a great tutorial for using a rotary cutter HERE.

::Storage::

If you are just starting out sewing and have the basic supplies I've mentioned here (and even a few more) a cute sewing basket may be perfect for you. 


But friends, for serious sewing tool storage, you simply can not beat the fishing tackle box. Trust me. 

The compartments are just the right size, everything is visible- no digging around and getting stabbed with pins, and it closes up tight to be perfectly portable with no spilling. 


My love for tackle box organization runs deep. When I was a little tot I stored all of my art supplies in a tackle box that my dad gave me. Evidently I'm not the only one who knows its merits, because the same company who makes fishing tackle boxes sells the same box (only it's purple) at craft stores for this very purpose! 

What it lacks in looks it makes up for in practicality. 
Like a mini-van.

Hope this list is helpful in your sewing!
mel

Ford's Christmas Quilt

For Christmas this year, David had my wedding rings resized to fit my chubby post-baby-you-ain't-22-anymore fingers. I'm extremely grateful to be an honest woman again after months of walking around without my rings and a baby on my hip.


I gave David a ukulele.
That's right. A ukulele.
He didn't ask for it, but I had the sneaking suspicion that he would like a tiny, quirky guitar. 
And I was right! He loves it. He serenades Ford and me around the house with an eclectic mix of tunes ranging from "You Are My Sunshine" to Sufjan. 


The best gifts I've given David over the years have been, like the ukulele, risky. Probably 10 years ago, I gave him a bow tie...long before they graced the necks of nearly every fellow on southern college campuses. 
The first year we were married, I gave him a pipe. 
And now...the uke. 


Back off ladies. He's all mine!

I mentioned in my last post that we just gave Ford one gift from us for Christmas. I wanted to give him something special that he could keep forever as his first Christmas gift, but I also wanted it to be fun and useful to him (or us) now. 

Soooooo....I decided to attempt my first quilt for my first born. I've wanted to make a quilt for a long time, and this was the perfect reason to take on the project.


I think it turned out pretty well!


A quilt fit the bill for being something that was both a useful gift for a baby boy and a keepsake. I didn't use traditional "baby" colors because I want to able to use the quilt for many years. I chose fabrics that were bright and boy-ish but that also represent things about our family. Some squares have guitars, bicycles, and cameras to represent our hobbies. There are squares with travel scenes, starfish, and even wood grain to represent places we like to go. 

Here's a larger version of the above picture so you can see the fabrics a little better.


I added a stripe of leftover fabric on the back to jazz it up a little.


And I embroidered a little inscription on one of the back squares. I wanted it to look like it was carved into a tree trunk.


quilt, handmade, christmas, hand embroidery, sewing, first quilt, gift, baby

The quilt is about 72 inches square, which is a little shorter than a twin size quilt. I modified THIS PATTERN from Cluck Cluck Sew (a great quilting resource) for a baby quilt to make it a little bigger. I largely based my fabric choices on this quilt from Joy's Hope, another lovely blog.

quilt, handmade, baby gift, first christmas, christmas gift, hand embroidery

This is a great pattern for a beginning quilter because you don't have to line up squares to make corners.  It only took me a couple of days to make this (with plenty of interuptions from an 8 month old and mostly working once everyone had gone to bed!) Once you cut out your pieces, you sew them into rows and then sew your rows together. 

Because I wanted my quilt to last for a long time, I decided to have a long arm quilter put it together for me, rather than doing the actual quilting myself. The result is a wonderful "old quilt" feel- it's just the right weight and delightfully crinkly. 


We are already enjoying cuddling up with Ford's quilt...almost as much as we are enjoying listening to David play his ukulele. I hope that they'll both enjoy their gifts for many years to come!

What was your favorite Christmas gift?

mel

Easy Baby Blanket Tutorial

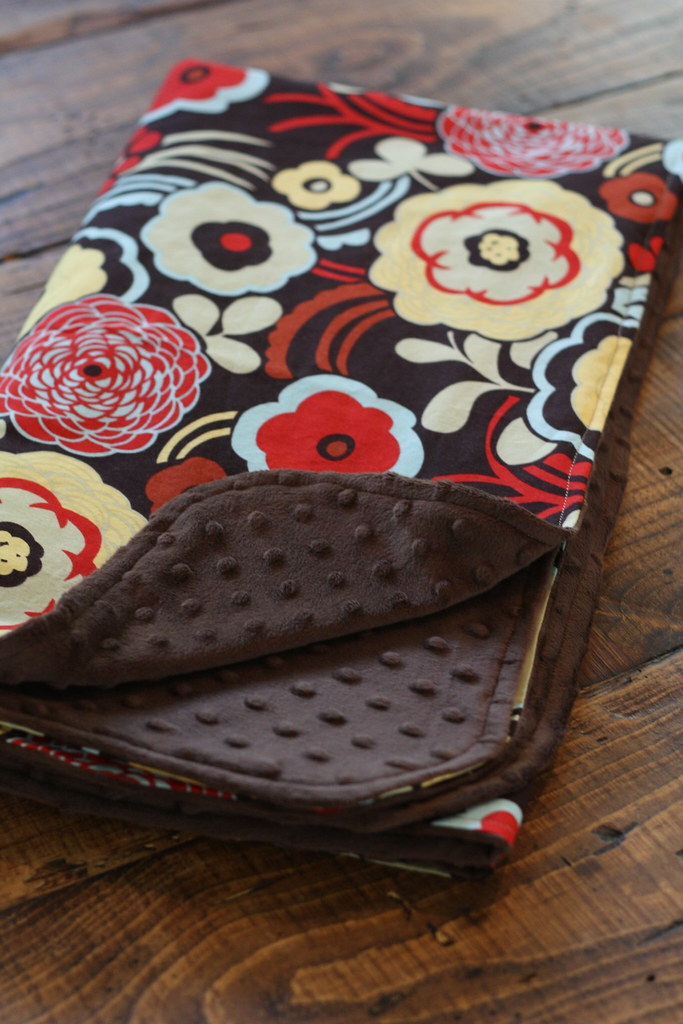
In honor of sewing classes starting back up this month, I thought I'd share a little sewing tutorial with you. I made this baby blanket a while ago for a friend who recently had a baby. It's soft and cuddly enough for a newborn, but it's larger size makes it a great play blanket as a baby grows. This would make a very special gift for a baby shower...who doesn't love a handmade gift?

IMG_0485

This project is very possible for any one with basic sewing skills (if you don't have basic sewing skills, why don't you sign up for lessons!) and it only takes a few hours. If you've never attempted a blanket, this is a great place to start.

Supplies:
  • 1 1/2 yards of light weight cotton material
  • 1 1/2 yards of coordinating "minky dot" material
  • Color coordinating thread
  • Large quilter's safety pins
  • Fabric marking pen or pencil
Directions:

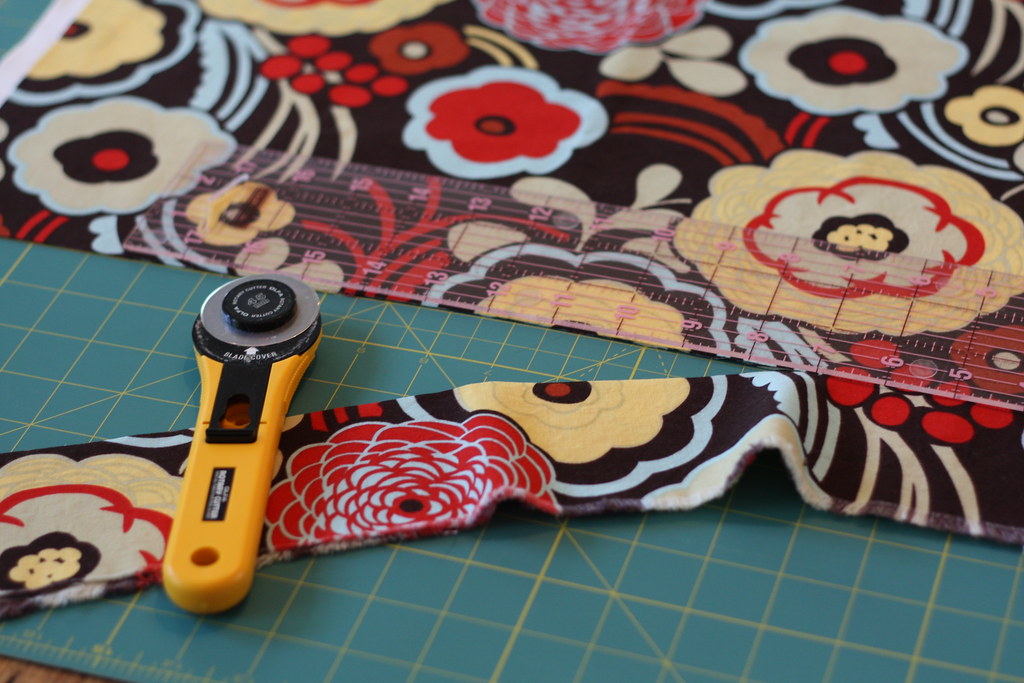
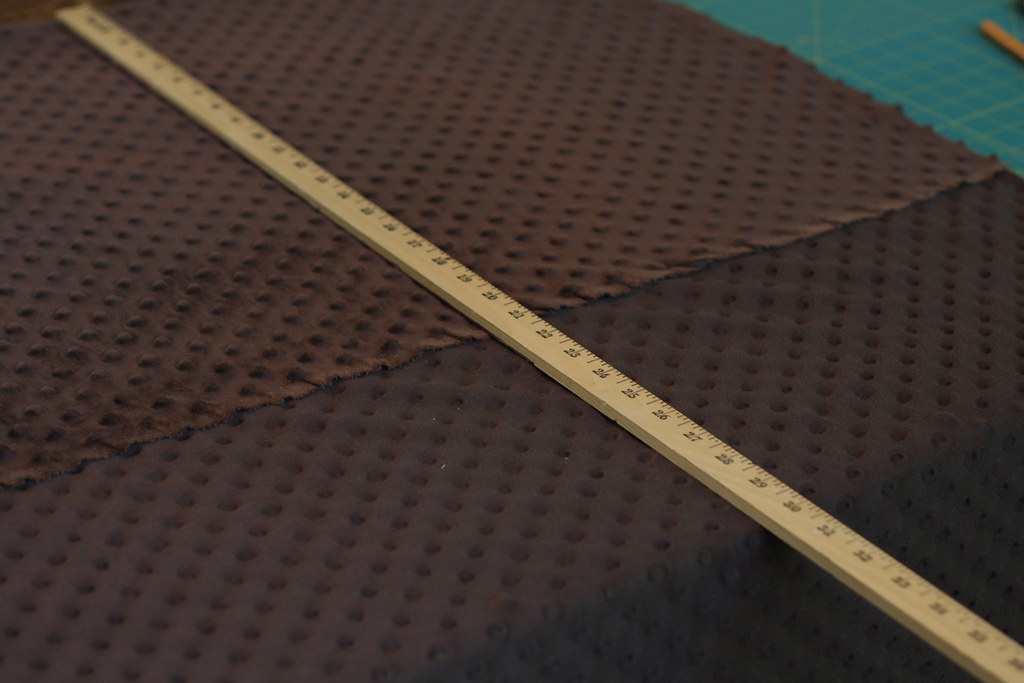
Okay, first things first...let's make some cuts! Your cotton fabric should be 44-45 inches wide, from selvage to selvage. Cut the length to 45 inches, so you will have a piece of fabric about 45 x 45 inches.

IMG_0452

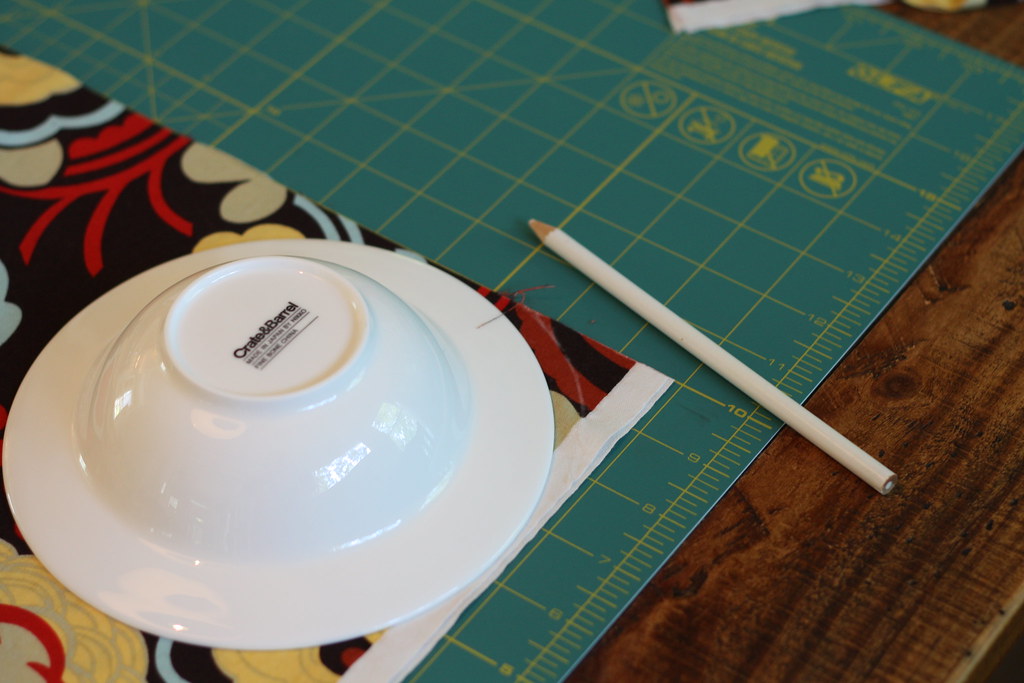
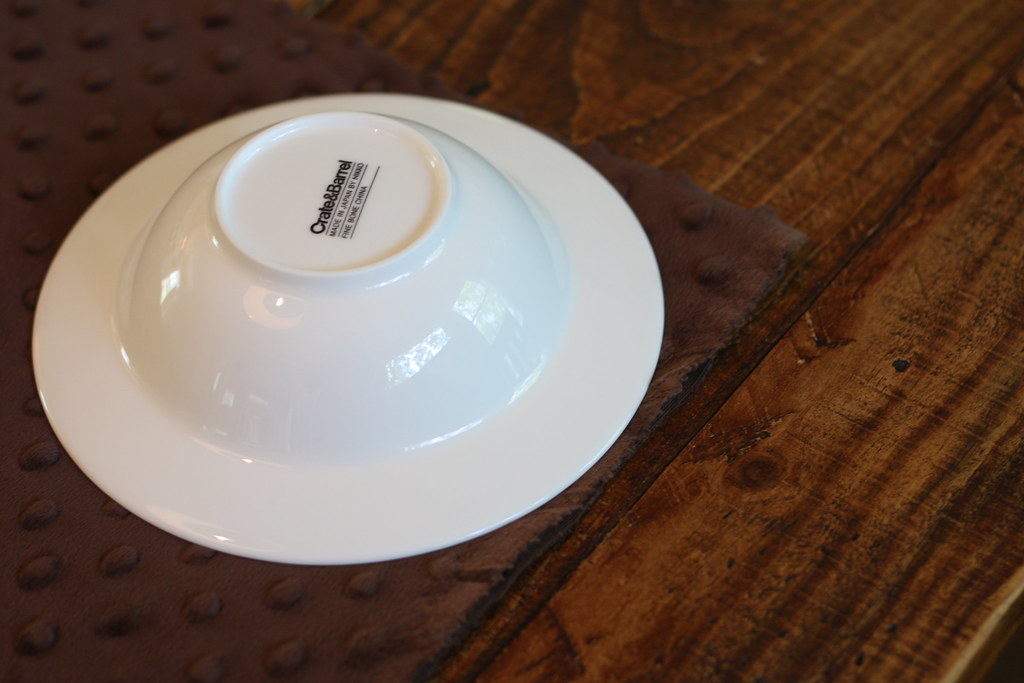
Once you've cut out your square, you can round the corners by tracing the edge of a plate with a fabric marking pen. Just line the edge of the plate up with the straight edges of the fabric to make a nice round edge.

IMG_0461

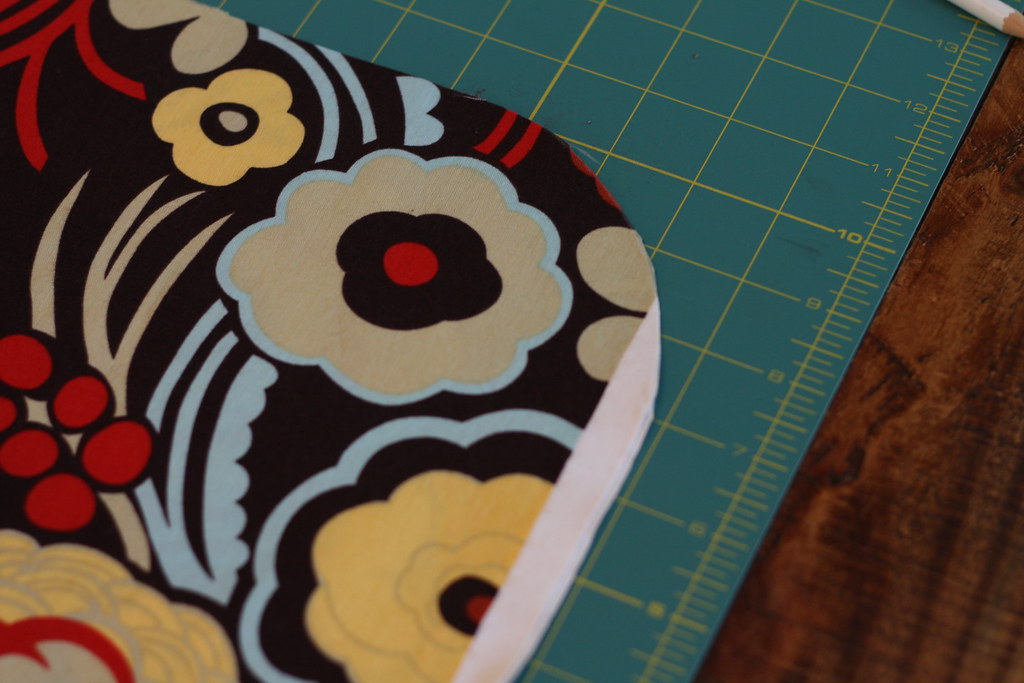
Wha-lah! Repeat for all corners. (If your fabric is folded in half, you'll only have to do this twice.)

IMG_0465

Cut the same size square from your minky dot material. It may be wider than the cotton material, so you might have to cut the length and the width...I did. Just make sure that you cut a square that is 45 x 45 inches.

Minky dot is so soft. It feels like puppy dog ears. If Cruella Deville had known about this stuff, she wouldn't have needed 101 puppies.

IMG_0466

Using the same technique as before, round the corners of your square.
Crate and Barrel, anyone?
IMG_0468

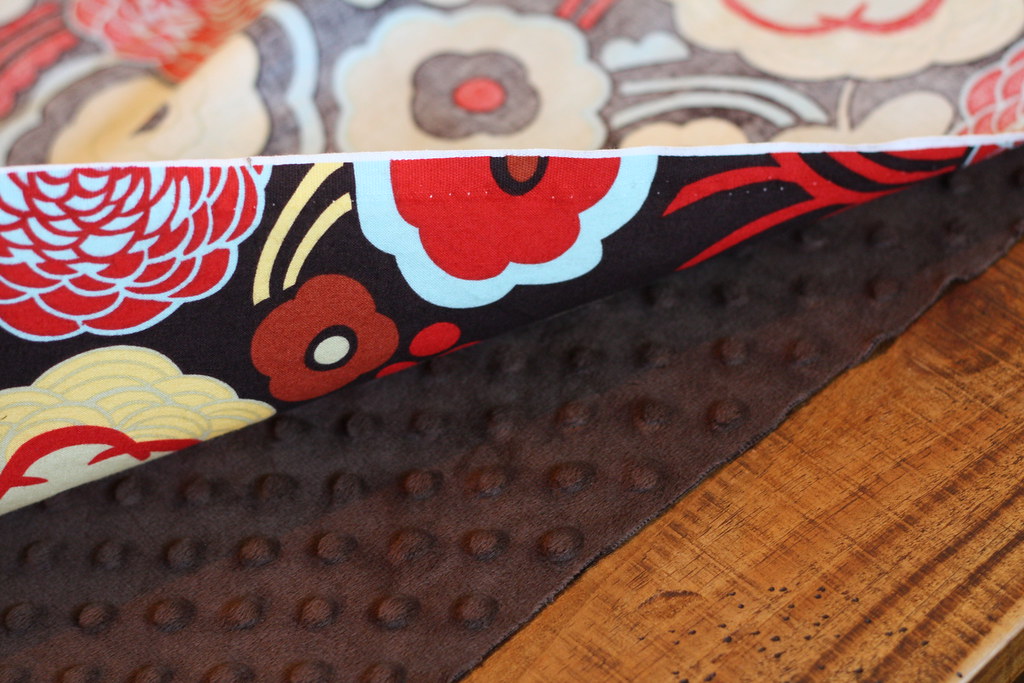
Now that you have two 45 x 45 inch squares of fabric, lay them out, right sides together (meaning the good sides of the fabric should be facing each other) and line up all of the edges.

IMG_0470

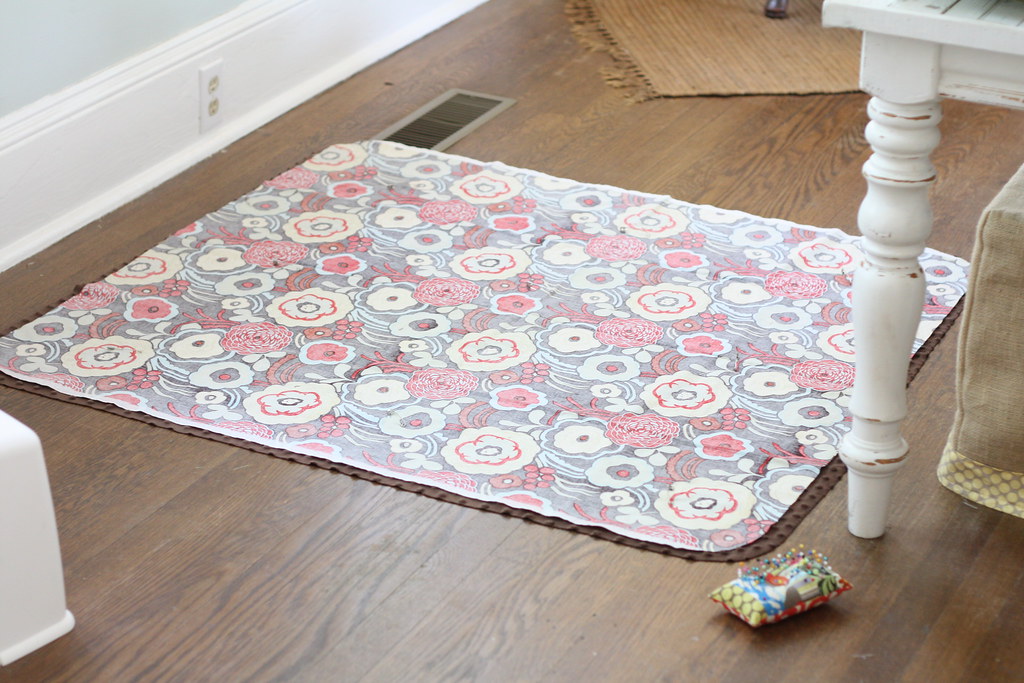
I ended up laying mine out on the floor because it's so big. You can see that all of my edges don't line up perfectly...that's ok. I trimmed them up when I got it all pinned.

IMG_0471

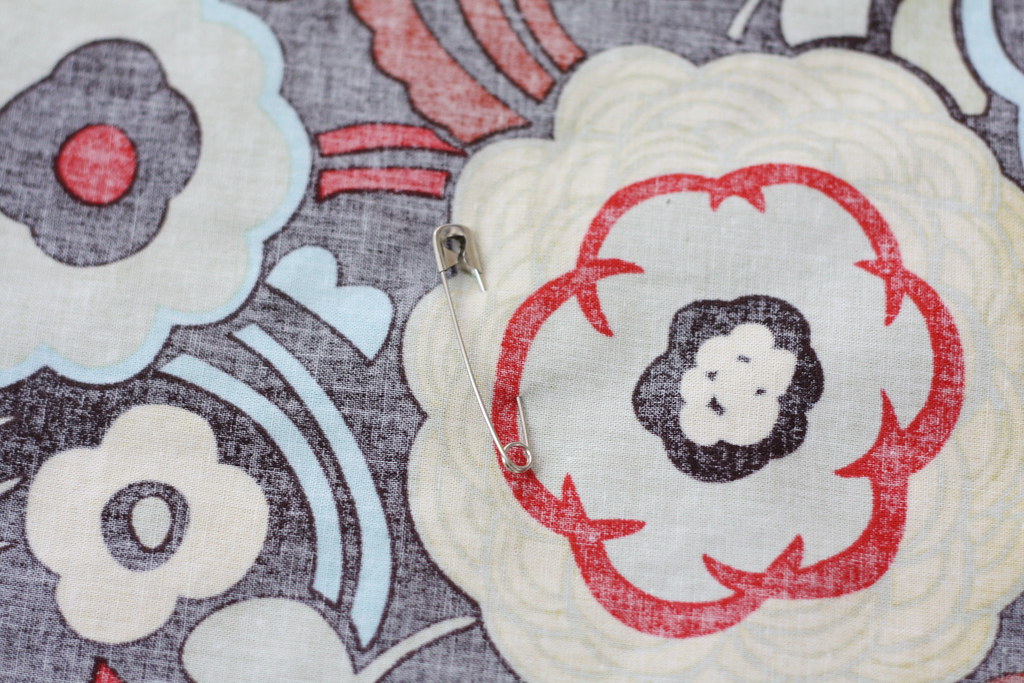
Use your large safety pins to secure the two layers together. I like to place these about every 8-10 inches in the middle area of the material. This just keeps the fabric secured together and prevents shifting while you're sewing.

IMG_0472

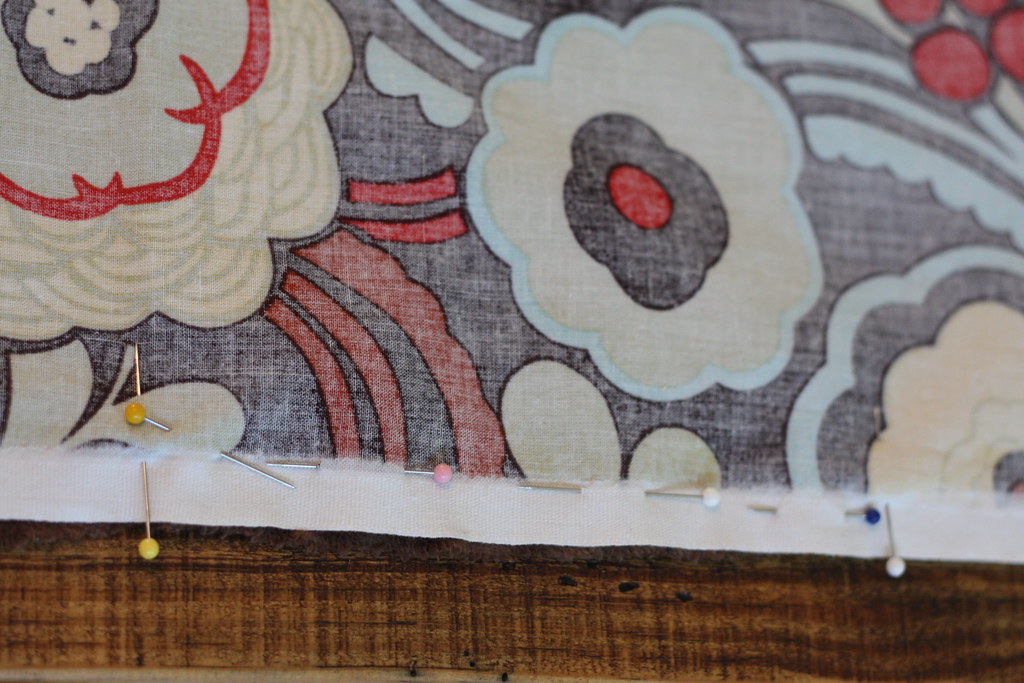
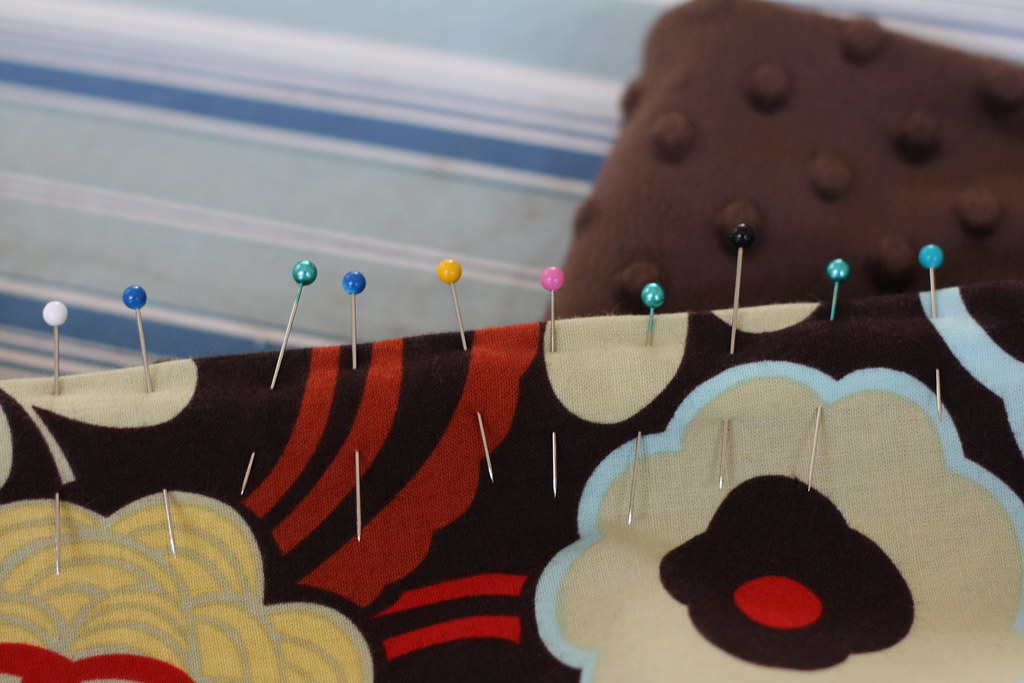
Then, place straight pins around the edge of the blanket about every 6 inches. Leave the head of the pins hanging off the edge for easy removal while you sew.

IMG_0475

You'll want to leave a hole open about 10 inches wide for turning the blanket right-side-out. I mark where I want my hole to be by placing a few pins parallel with the edge of the fabric (all of your other pins with be perpendicular to the edge). When I run into the parallel pins it reminds me not to sew there...I won't tell you how many times I've sewed something up, only to have to rip the stitches out to turn it. It's embarrassing. This is my trick for remembering. I need a lot of help.

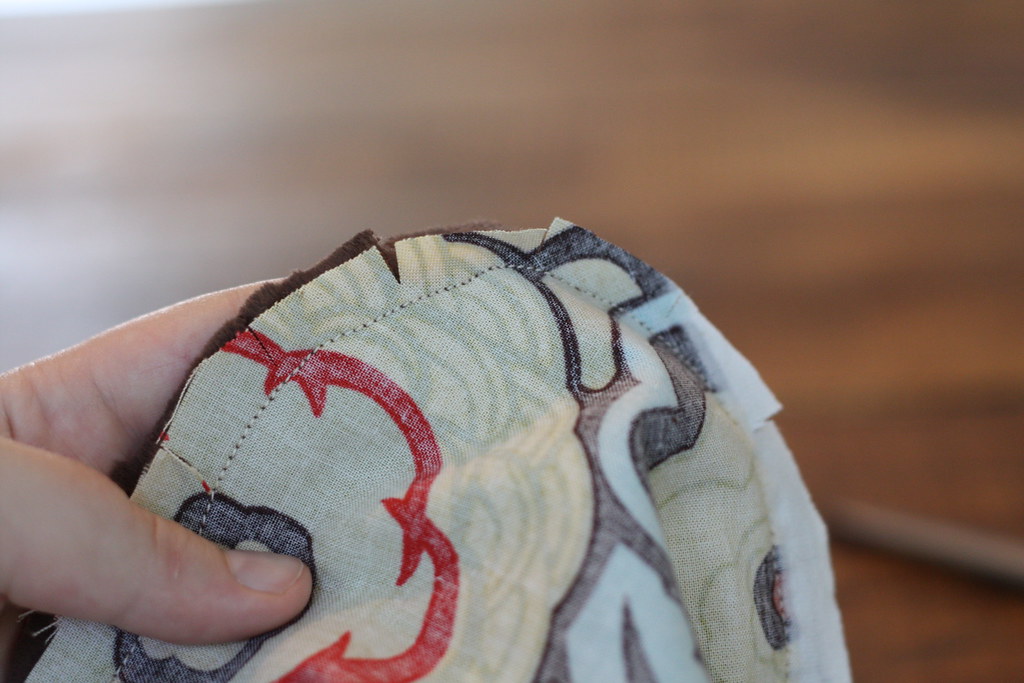
Using a 1/2 inch seam allowance, sew around the edge of the blanket. Once you've sewn all the way around, snip the fabric around the curved corners so that it will lay flat when it's turned. Be careful not the snip the stitches.

Nothing can make you cuss like accidentally snipping stitches. I'm just warning you.

IMG_0478

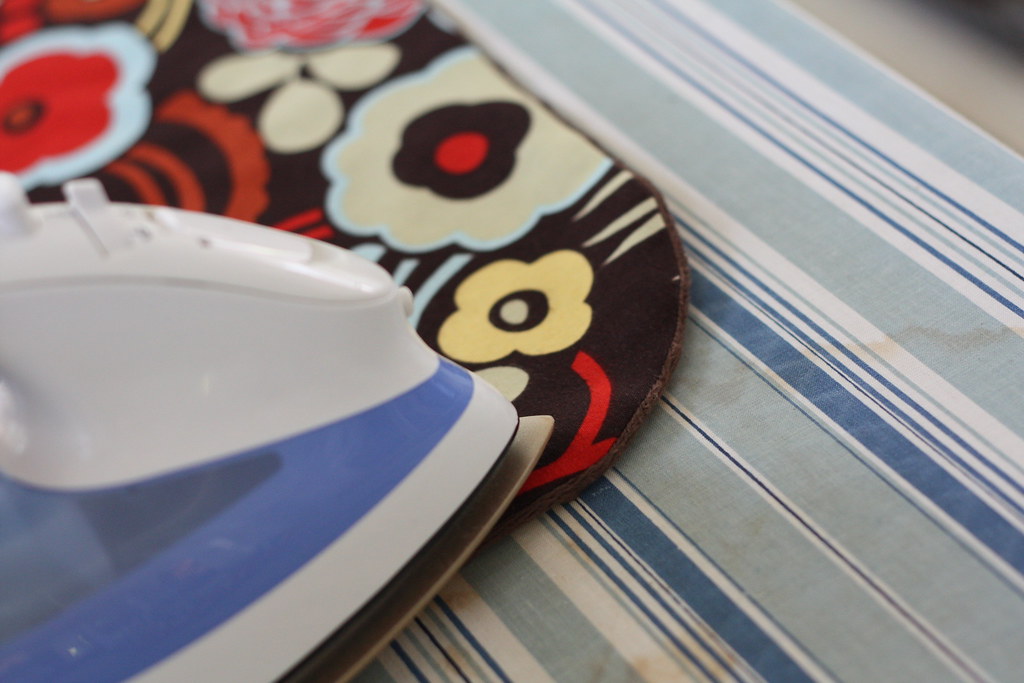
Now remove all of the safety pins and turn your blanket right-side-out! I like to go around the edge and iron all the seams out so that they're nice and neat.

IMG_0479

Next turn under the edges of the hole you left and pin it.

IMG_0480

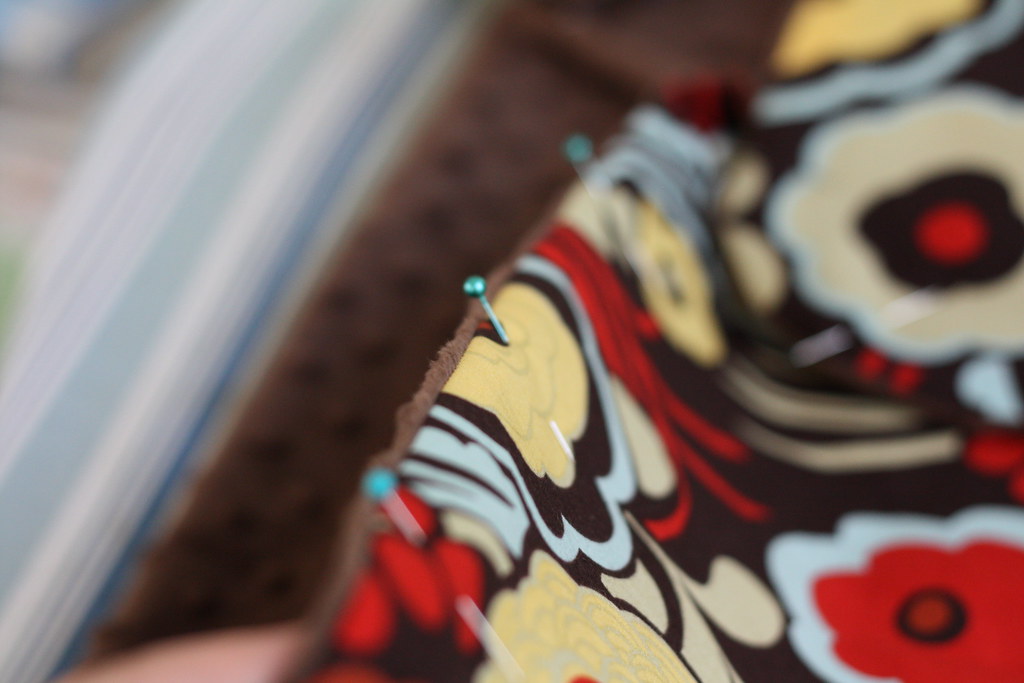
Also pin around the entire perimeter of the blanket...pinning about every 8-10 inches. You might want to put in a few of safety pins in the center, as well.

IMG_0482

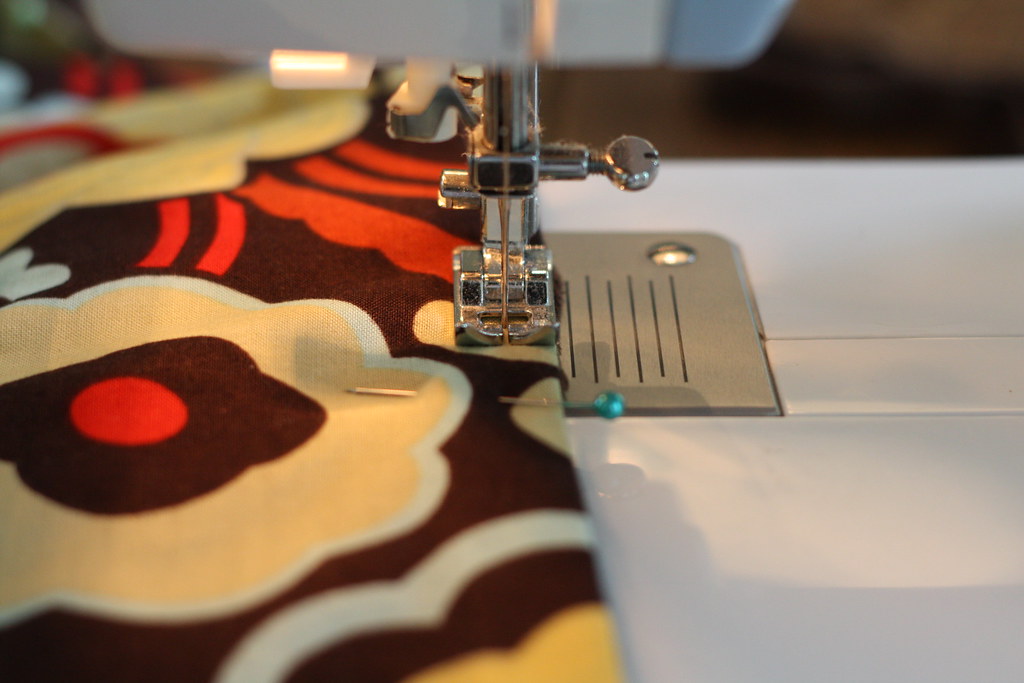
Using a 1/2 inch seam allowance, top stitch around the entire blanket, taking great care to make sure the hole gets securely stitched.

IMG_0483

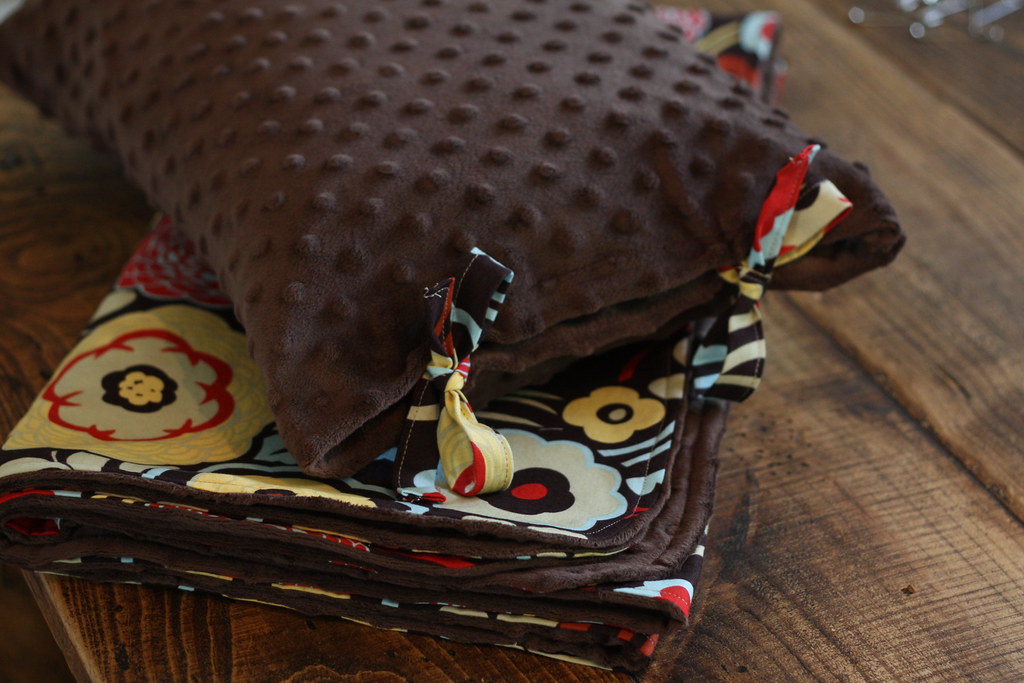
And that's it! You're all done! Give it to someone you love.

IMG_0485

I used my extra fabric to make a little matching pillow. Holla.

IMG_0490

When you finish, resist the urge to snuggle up and take a nap with your new blankie. Trust me, it's very tempting.

Want to make cute projects like this? Sign up for sewing classes with me!
mel

***UPDATE! In response to the your questions and comments, I did not use any type of interfaceing or batting in this blanket. The white that you see is just the selvage edge of the fabric. I recommend always washing your fabrics before starting a project. Both fabrics are from Joann's. Minky is a little tricky to work with- it takes some patience. I do not use a walking foot or spray adhesive, I just take my time and use LOTS of pins, both straight pins and quilting pins. (which I think is the key to success) Good luck!***

Sharing with friends at:
Remodelaholic
Skip to my Lou
Tip Junkie

Sewing School!

I've finally got my act together, peeps.
I'm posting my information about fall sewing classes under the "Sewing School" tab of my homepage and just because it's new I thought I'd post it here too so you can check it out.
Fall classes can begin at your convenience; Just send me an email or give me a call.
Classes are typically 2-3 people for a weekly class and up to 5 people for a weekend class. Sewing classes are a really fun thing to do with friends, so get a group together!
Anyway...here's the info and I can't wait to get fall classes started!
Beginners Sewing 101- Calling all want-to-be seamstresses! Whether you’ve dabbled in sewing here and there or if you’ve never touched a machine, this is the class for you. In Sewing 101 you’ll learn the mechanics of your sewing machine and what all those sewing tools are for. We’ll talk about selecting fabrics, proper cutting and pinning, and using a pattern. This class is the most comprehensive of all of the Sewing School classes. You’ll make 6 super cute projects while learning all of the basics of sewing.
Classes are an hour and a half long, once a week, for 8 weeks. The cost for entire course is $200.
Fall openings: Monday,Thursday, or Friday 10:00 am to 12:00 pm,  Monday or Tuesday 6:30-8:30 pm
Beginners Workshop- No time for class every week? This is a one day comprehensive sewing workshop for beginners. We’ll cover the basics and give you an introduction into the world of sewing while making several sweet projects…all in one day! A homemade lunch and snacks are provided during the 6 hour course. If you have friends that would like to all take a beginners workshop together, I can schedule an event especially for you!

This is a one day class that meets from 10 am to 4 pm. We'll be having our first Beginners Workshop on Saturday, November 5th. The cost is $85, including lunch and snacks. The class limit is 5 people.


Other Sewing School offers include...
Studio Time: Studio Time is for anyone with sewing experience (or who has taken a beginners class) who has a specific project in mind that they need a little extra help with. Come in and I’ll get you started or let me help you finally complete a project that you’ve had on your to do list for a long time! Contact me for prices and more information.
Custom Sewing: I love a good project and I’m happy to take on yours! Whether it’s curtains for your living room or a whole nursery, I can help you pick out fabrics and then stitch them up with precision and care! You’ll have something unique, original, and handmade to treasure.
Specialty Classes: Look for classes coming up in the near future that focus on specific projects such as: baby gifts, throw pillows, curtains, Christmas décor, a simple a line skirt, and more! These classes will be for students who have completed a beginners class or have a sewing background.

Sign up today friends! I can't wait to sew with you!
mel

Sock Monkey Remix

When I was a little bitty, I had a sock monkey that I loved dearly. His name was Monk Monk. (I was obviously not a very creative child.) I carried him everywhere by his tail and sucked on his feet while I slept at night. He was with me through thick and thin. I broke my leg when I was 2 years old and the doctor put a cast on Monk Monk's tail to match mine. He retired tattered and torn and deeply loved...very much like the Velveteen Rabbit...just not quite as classy.

Many of you have probably noticed that sock monkeys are making a big come back (as are cropped sweatshirts, but we'll save that conversation for another day.)

Check out what a simple Pinterest search for Sock Monkey came up with:

Sock Monkey hats...baby not included


Sock Monkey-themed birthday parties


Yummy Sock Monkey cookies


A Sock Monkey table cloth.


All of this Sock Monkey hoopla going around the webernet coupled with my own 1985 love affair with Monk Monk, inspired me to make a Sock Monkey for one of my friend's babies.

I give you...
Sock Monkey
Remix


He seems to have a little attitude.
Dave thinks he's border-line creepy. I think that's just because he saw him before he had a face. I'll admit he was a little creepy at that stage of the project.


I think he's kinda cute.
I used this tutorial for Sock Monkey making if you're interested.

What do you think? Do you have a heartfelt sock monkey story OR do you think toys made out of socks are weird?

Tackling the tough issues,
mel

Emily's Nursery

David and I have some sweet friends named Emily and Conrad. They live far away, but we get to see them pretty often. Back in January, I was hanging out with Emily and she told me a secret.

Wanna know what it was?
She is gonna have a little tiny baby.
For realzies.

It's not a secret any more, though. Little Baby is making herself known to the world.
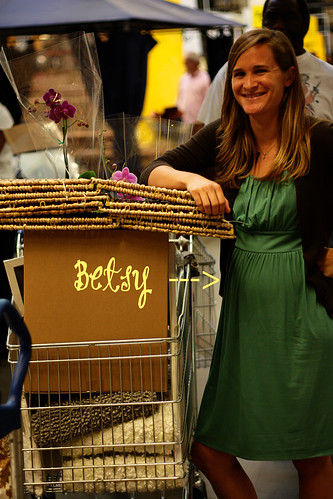
Friends, meet Emily and Betsy.

BetsyNursery1

I can't even handle all the cuteness.

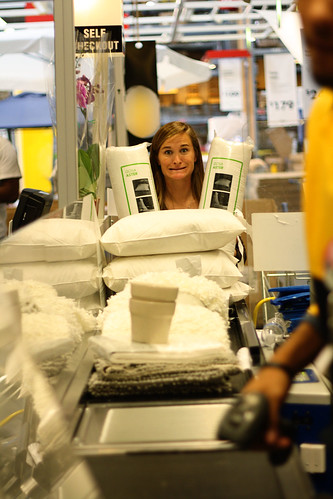
Notice that big buggy beside Betsy (random: Do you call that a buggy or a shopping cart? Is "buggy" a weird thing to say? I need answers.) is full of Ikea goodness. Emily and I recently made a pilgrimage to Ikea so that I could be her nursery shopping wing man...to offer comfort and assurance...to keep her focused...to push the buggy...to buy cinnamon rolls and combat low blood sugar funks.

There may have been two overflowing buggies involved as we neared the checkout lines. They may have both been full of nursery gear. I only bought a clock. Lame.

Emily took care of business like a champ. I think I would have cracked under the shopping pressure and gone home with nothing, as is my tendency.
BetsyNursery2

Emily made some great purchases and her nursery was already shaping up nicely, pending approximately 40 man hours of tiny-Ikea-wrench-labor from Conrad, who is responsible for putting all of the furniture together. (Just be glad that's the only labor you'll have to go through, Conrad.)

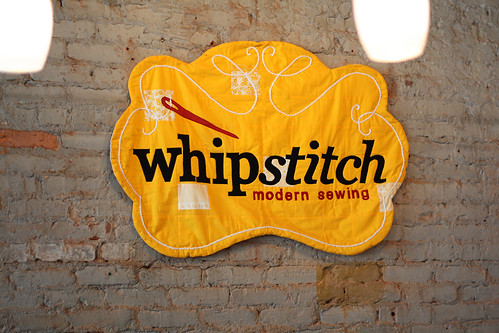
When we had done all the damage we could do at Ikea, Emily and I headed over to a very lovely fabric store in Mid-Town Atlanta, called Whipstitch.

BetsyNursery4

We proceeded to spend the next hour pulling our hair out over fabric combinations. Why, you ask?
Because I'm making the all of Baby Betsy's nursery bedding!! Holy Moley!
I'm so excited. I've been commissioned. I have a new found sense of purpose. Betsy needs a blankie and I'm gonna stitch one up, by golly.

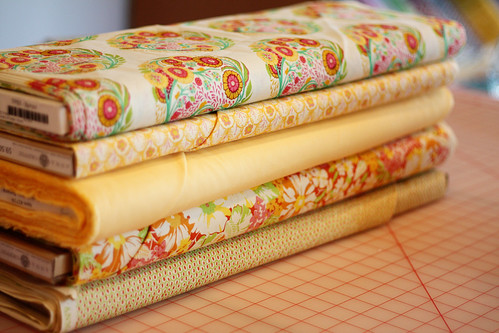
Anyway. We spent a LONG time looking at the large and overwhelming fabric selection at Whipstitch. It was a tough choice, but in the end Emily decided that this combination of lovely Anna Griffin fabrics was what really screamed "Betsy" to her.

BetsyNursery3

I couldn't agree more.

I can't wait to show you more of Betsy's nursery as it comes together. It's going to be cute.as.pie.

Thanks, Emily and Conrad, for letting me make something so sweet.
T'will be stitched with love, I assure you.
Mel
Blogging tips